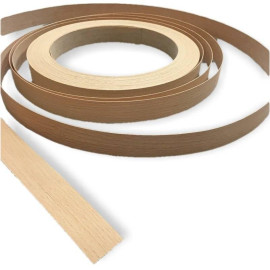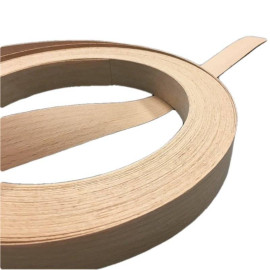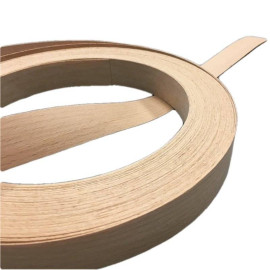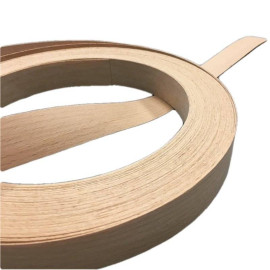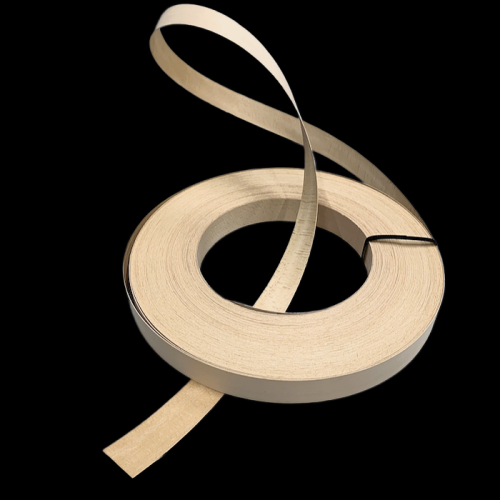
Thick Beech Edge Band 1 mm x 55 mm
Thick Beech Edge Band 1 mm x 55 mm
Genuine wood edge band.
Unbacked, unglued.
Pre-sanded.
Width: 55 mm.
Thickness: 1 mm.
These edge bands are sold by linear meters.
Thick Beech Edge Band 1 mm x 55 mm
Genuine wood edge band.
Unbacked, unglued.
Pre-sanded.
This edgebanding is composed of 2 layers of wood veneer glued together.
Dimensions:
Length: Custom cut to your desired length in 1-meter increments.
Width: 55mm
Thickness: 1mm.
These edge bands are thicker than the standard thickness.
Quantities:
Sold in linear meters. Minimum order: 1 meter.
What are edge bands?
These edge bands are made of genuine wood.
They are pre-sanded, parallel cut, unglued, unvarnished.
Characteristics of edge band upon thickness are:
- 0.5 mm thick, backed with non-woven fabric.
- 1 mm thick, composed of 2 layers of wood veneer, glued wood to wood.
- 2 mm thick, composed of 4 layers of wood veneer, glued wood to wood.
Edge bands are supplied in a single roll of the length you choose.
The veneers used to make these edge bands are irregularly finger-jointed for a seamless appearance.
What are edge bands used for?
Edge bands are commonly used to cover the edges of veneered panels (plywood, MDF, particleboard, etc.).
Once the edge band is glued in place, the underlying substrate is no longer visible, revealing the appearance of the fine wood veneer on all sides.
Edge bands are also used for the restoration of furniture or interior woodwork.
Always plan for edge bands that are slightly wider than your target substrate. This will allow you to adjust the dimensions after gluing for a clean finish.
How to Glue Edge Bands?
Edge bands are glued in a similar way to wood veneers.
For porous substrates (MDF, plywood, particleboard, etc.), you can use either PVA wood glue or PU (Polyurethane, exterior wood glue). Apply the glue and clamp the edge bands in place using a rigid caul and a sufficient number of clamps.
Alternatively, you can use a contact glue like neoprene. This glue is recommended for non-porous substrates such as metal, plastic, or glass but also works on porous substrates.
Double gluing is necessary with contact glue. Allow the glue to dry to the touch before contacting the surfaces.
Then, gradually mount the edge band into place using the hand.
A second strong mounting is essential, with a wooden caul or a veneer hammer. This last step is crucial and should not be neglected. Neoprene glue also allows you to cover curved pieces.
Note:
There are many other methods for gluing veneers, such as vacuum pressing or animal glue (bone glue, hide glue). Still, the methods mentioned above are the most common without requiring specialized equipment.
However, there is a third method that might be useful to know:
Iron-On Gluing Method
This method exclusively applies to edge bands with a 0.5 mm and 1 mm thickness. For thicker edge bands, the heat from the iron might not penetrate the wood correctly.
This gluing method requires a porous substrate and PVA wood glue (either fast-drying or standard drying).
Using a brush or roller, apply a thin, even coat of glue to the edge band and the substrate. Ideally, a rubber brayer would be used, but a paint roller can also be used, but it may consume more glue. Ensure that any excess glue is removed with a spatula or plastic card.
Allow the glue to dry until it is touch-dry. The drying time will vary depending on the glue and room temperature. You can speed up the drying process by using a hairdryer.
It's time to apply the edge band when the glue no longer sticks to your fingers and has become transparent in some areas while still milky in others.
Position the edge band on the substrate. Since this is not a contact glue like neoprene, use tape to hold it in place.
Press the iron firmly over the edge band using a cotton setting with no steam.
Take your time to allow the heat to penetrate the wood.
The wood is unlikely to burn from the iron (unless you leave the iron on the wood for an extended period), but if you're using your everyday iron, protect the soleplate with baking paper, as wood is abrasive.
Once the glue has set, trim off any excess edging.
How to Trim Edge Bands?
Several techniques can be used:
With a veneer saw: It is the best solution if your workpiece is straight and can be positioned on its edge.
With a wood chisel: Place the chisel at an angle (don't attack the band head-on) and apply a movement from the outside to the inside, gradually advancing in small up-and-down motions.
With a utility knife or veneer knife: Identify the wood grain before cutting. Run your finger along the edge of the band in one direction and then the other. Cut in the direction that catches the least.
With an electric trimmer: For those who have one, remember to stop a little before the end of your piece and finish the last centimeter with a chisel or utility knife.
Note: Edge band trimmers sold in DIY stores are designed for plastic edge banding. If you want to use this tool, sharpen it as much as possible and, as with the utility knife, respect the direction of the wood grain.
The final step is to finish your piece.
What finish for an edge band?
As you probably read in the introduction, our edge bands are pre-sanded. For finer sanding, use a minimum of 180 grit.
Since our edge bands are wood, any wood finish product is suitable.
Just ensure the chosen product is compatible with the final use of your project.
You now know almost everything! I recommend this excellent video tutorial by Le Bois Barbu.
More info?
Need more details? Feel free to contact us by phone or email.
Data sheet
- Species
- Beech
- Thickness group
- Thick thickness
- Widths
- 55 mm
You might also like
 English


